Do you know how YoloBox can help you to simplify the process of live streaming? Let's follow the steps and get ready for your first live video!
Starting a live video with YoloLiv YoloBox is so simple. Let's follow the steps below and start live streaming!
Link with Your Social Media Account
Before we start a live video with YoloBox, we should link our social media account with YoloLiv first. YoloBox supports Facebook Live, YouTube Live and Twitch TV. When you go to the setting page, you will see the logo of the various live streaming platforms. Just tap the logo and then you will enter the account linking process.

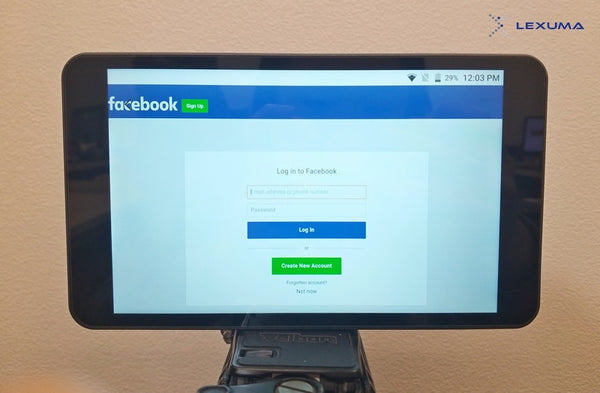
Let's log in the Facebook account for the Facebook live. When you tap the Facebook logo in the setting page, you will see 'Add account' at the bottom of the page. Click it and you will see the Facebook login page. After you log in your Facebook account, you will see 'Facebook Success' which means you are linked YoloBox with your Facebook account.
Start a Live Video
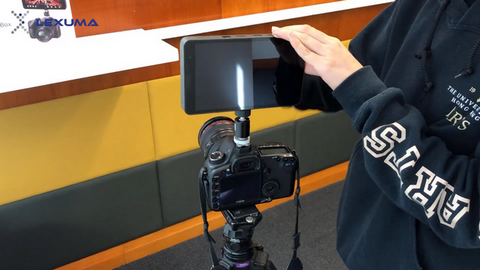
Then, let's start a live video on Facebook. First, you need to attach a hot shoe mount to YoloBox and mount it on top of your camera. Then, you can connect both devices with an HDMI cable for video data.
 |
 |
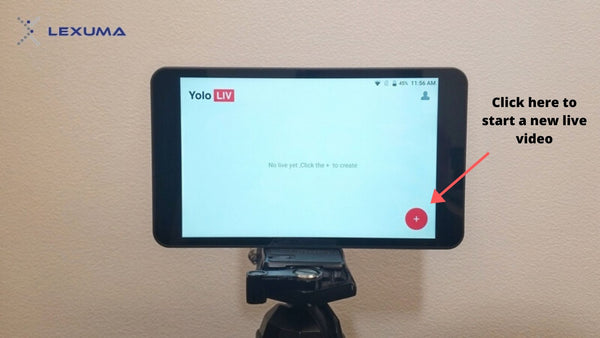
Next, go to the main page of YoloBox and then click the '+' button located at the right-bottom corner of the screen.
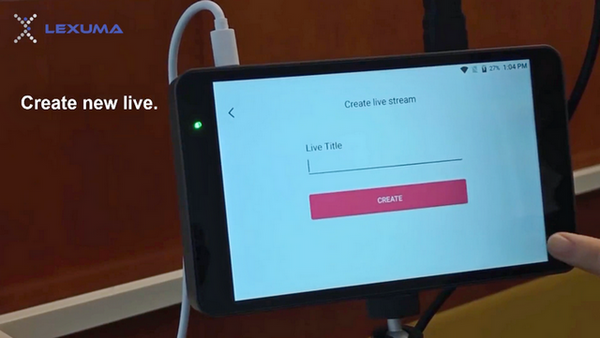
Enter the title of your live streaming and click 'Create'. Then, you will see your live video on the main page.
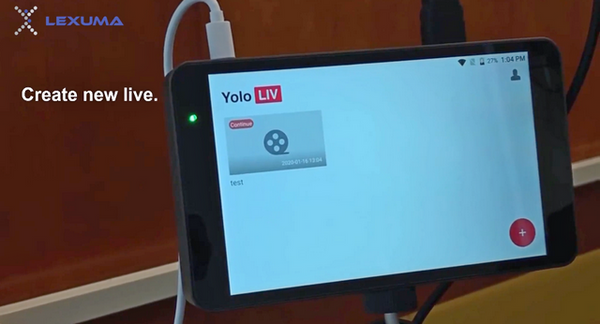
Click the live video that you have just created. YoloBox will search for video sources.

After a few seconds, you will see a column on the right side of the YoloBox, which is about adding video sources.
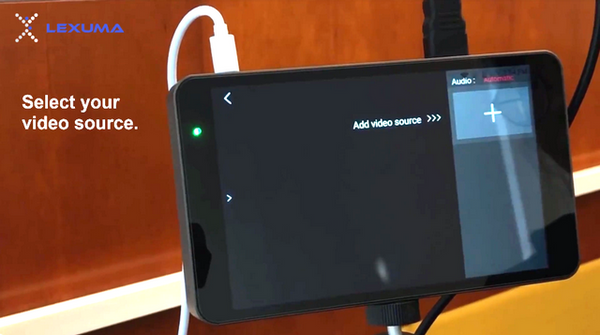
When you click the '+' sign, you will see there are five types of video sources that you can add for your live video. Since we are connecting the camera with YoloBox through an HDMI cable, we will choose HDMI 1 input/HDMI 2 input. Then, you will see what your camera is filming from YoloBox.
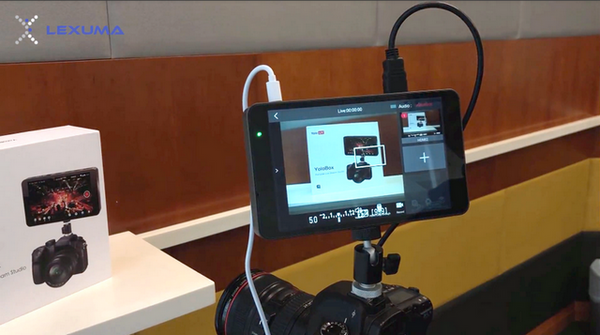
Remember, you do not need to switch to recording mode of your camera. Just turn it on and connect it with YoloBox, then the camera is filming will be shown on the screen of YoloBox and also your live video.
Choose the Live Streaming Platform
When the connection with the camera is ready, we can start our live streaming. Swipe right to choose the platforms you want to stream on.
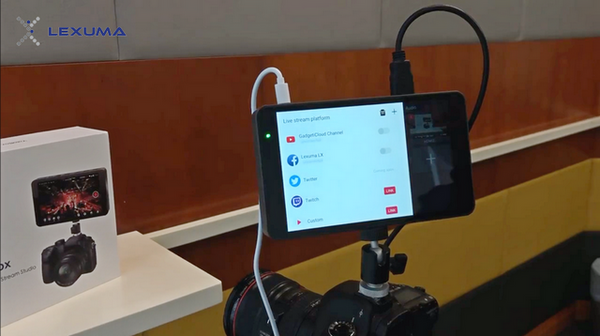
When you choose to stream on Facebook, you can select the publishing page/account. You will see 'Ready' under your Facebook account after your selection.
Then, tap the red button on the right of the screen and start your live video!

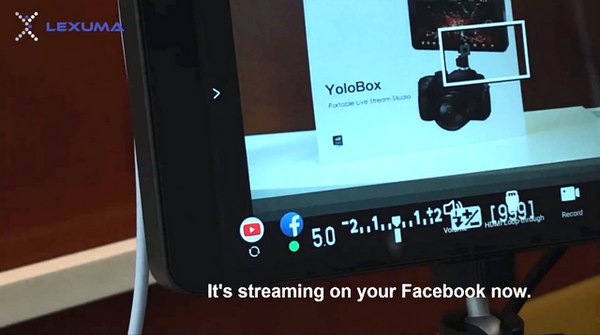
When you are successfully starting a live video, you will see a green dot locate at the bottom of the Facebook logo. If you want to end your live video, tap the red button again.
Don't you think that creates a live video with YoloBox is so simple? You can live streaming in 2 or more platforms at the same time. For the initial setup of YoloBox, check out our blogs <HERE>.


![Start a Live Video with YoloLiv YoloBox [Product Review Part 2]](http://gadgeticloud.myshopify.com/cdn/shop/articles/GadgetiCloud_YoloLiv_YoloBox_unboxing_product_review_start_a_live_video_cover_photo_840x619.jpg?v=1583488179)
